
11/04/2021
Getting done

Hi!
Today we finished our project and we're ecstatic! We've chosen a different rute from last time concerning the communication setup between the MCU and Arduino uno boards, which we realised was overcomplicating our set up. We still use both boards, but now all the information goes directly from the MCU to the mechanism, instead of going through the arduino board. As mentioned the arduino-board is still a part of the system, but is now only used as a link to the power supply to ensure the correct voltage.
We also managed to finish writing the code for the software, so now everything works! But the most exciting news is: You can now read all about the SmartLocker on the page "Introducing SmartLocker".
On that page is an in depth description of SmartLocker and how it works.
We hope you like it. :)
See you next project!
- Occultist Invasive xx


09/04/2021
The finishing touches

Hi!
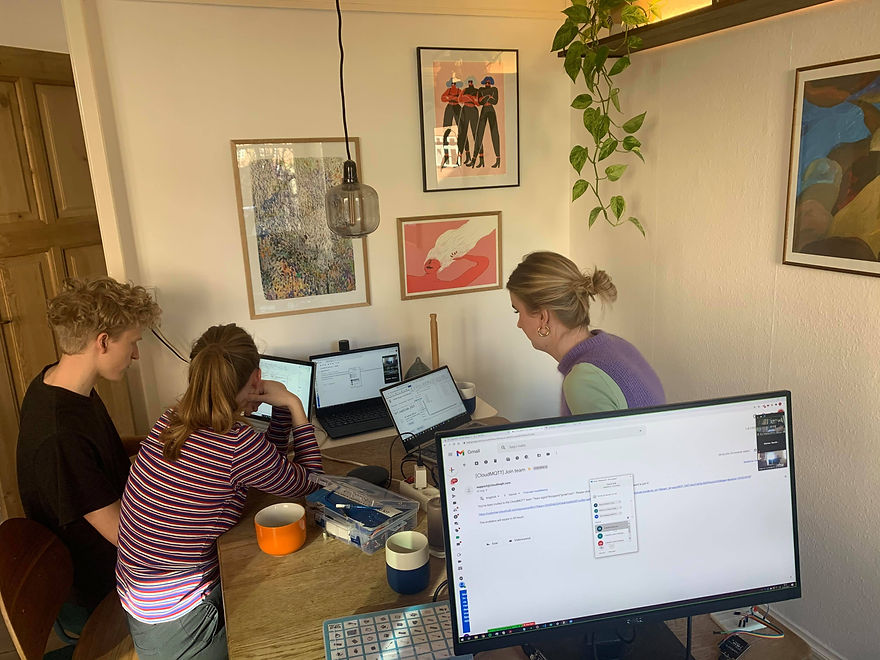
Today has been a very busy and challenging day. The day started with us being unable to log in to NodeRED. This luckily got solved pretty quickly, but was a frustrating experience. We met up and worked in small groups like last time, and we have made good progress! We have set up the app in NodeRED, where it is now able to recognise if a password is correct or not, book a specific locker choosing time, date and duration and show if a locker is available or not by the colour of the LED that lights up.
On the design front we have rendered and animated our SmartLocker in 3DS max, 3d printed the components and connected them to the hardware and motor to make a working model.
One of the main challenges today that we have not managed to solve yet, is how to connect our I2C communication setup. But it is something that we are very optimistic about working soon :) .
- Occultist Invasive xx

Developing the app using NodeRED.
The app is developed using NodeRED. Here the video shows the connections between functions and how the app works.
E-mail confirmation of reservation and Password
The picture depicts the E-mail that is sent to the user after choosing a password, locker and timeframe in the app.

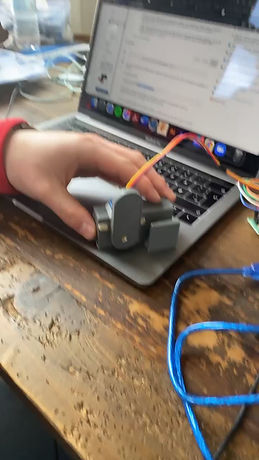
Locking mechanism
This video shows how the locking mechanism works. It is set up through Arduino code and is able to open and close through commands. As you can see, we changed the motor to a stepper motor as it seemed more appropriate.
26/03/2021
Starting our project
Hi!
Today we made great progress on our project of designing and making our SmartLocker. Our first agenda of today consisted of choosing the two extra features that we wanted to include in our design.
We chose:
Save password and send confirmation E-mail to the user.
Allow the user to make a reservation in advance.
We split up into small teams to be as efficient as possible.
The groups worked on different things: designing and drawing our locker in CAD, writing the code for the app and building the locking mechanism.
- Occultist Invasive xx

CAD rendering of the design of SmartLocker
Password and confirmation E-mail
This video shows how our Node Red code sends an E-mail to the user with the password of their choosing.

CAD drawing of the locking mechanism
We have chosen a simple design for our locking mechanism. The picture shows the servo motor connected to the arm in which it creates the rotation motion.
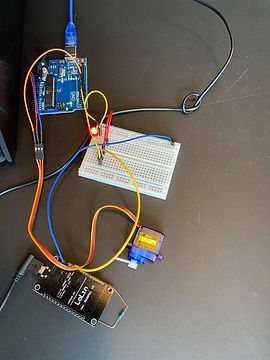
Hardware
This is a version of the hardware for our locker. The picture shows the connections of the locking mechanism and the LED pin to our MCU-board which connects to WIFI.
19/03/2021
Our first day

